Knowing how to charge chassis batteries in RV is one of those little skills that can save you a lot of trouble on the road. Your chassis battery is the heart of your RV’s driving systems, powering essentials like the engine, headlights, and wipers.
Whether you’re parked at a campground, cruising down the highway, or prepping at home, keeping your chassis battery charged is key to a smooth journey. Let’s dive into the details on how to charge chassis batteries in rv and make sure your RV is always ready to roll.
What Are Chassis Batteries?
Chassis batteries, also called starting batteries, are what get your RV’s engine up and running. They’re designed to deliver a quick burst of energy to start the engine and power the basic driving systems like lights and wipers. Unlike house batteries, which run the living area, chassis batteries focus purely on driving essentials.
Think of it this way: your RV has two separate power zones. The house battery handles your living comforts—like lights, the fridge, and outlets—while the chassis battery keeps your engine humming and your wheels turning.
Both are important, but the chassis battery is all about the driving experience. Regular maintenance and proper charging will keep it in top shape, so you never have to worry about being stuck with a dead battery.
Types of Chassis Batteries
Different RVs call for different types of chassis batteries. Here are the main ones you’ll come across:
- Lead-Acid Batteries: Affordable and reliable but require regular maintenance and water checks.
- AGM (Absorbent Glass Mat) Batteries: Maintenance-free and handle deep discharges better, ideal for frequent travelers.
- Lithium-Ion Batteries: Lightweight, long-lasting, and efficient but come with a higher price tag.
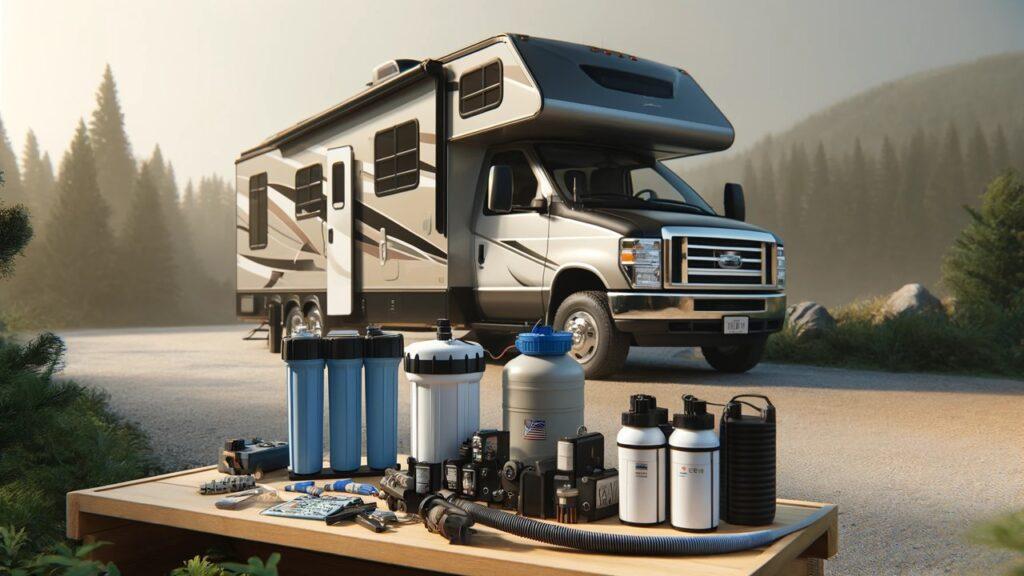
Charging Methods for Chassis Batteries
There are several ways to keep your chassis battery charged, depending on where you are and what tools you have. Here’s a breakdown:
Using Shore Power
When parked at a campground, you can plug your RV into a shore power outlet. The RV’s converter transforms the AC power from the hookup into DC power, charging both the house and chassis batteries. Make sure your converter is functioning properly and check the charge levels periodically to avoid overcharging.
While Driving
Your RV’s alternator automatically charges the chassis battery when the engine is running. A charge solenoid connects the chassis and house batteries, allowing them to recharge as you drive. This method is seamless, but it’s worth checking the alternator and connections during routine maintenance to keep things running smoothly.
Home Charging
If you’re at home, you can charge your chassis battery using a dedicated charger. Choose a charger compatible with your battery type, connect the clamps to the terminals (red to positive, black to negative), and monitor the process. A trickle charger is a great option for maintaining the battery when your RV isn’t in use.
Solar Power
For long-term parking, solar panels can keep your chassis battery topped up. This method is eco-friendly and perfect for avoiding parasitic drains from systems like alarms or clocks. Invest in a quality solar panel kit designed for your RV’s battery system for the best results.
How to Charge Chassis Batteries in an RV
Here’s how to charge chassis batteries in RV in a few simple steps:
- Step 1: Identify your battery type and get the right charger.
- Step 2: Connect the red clamp to the positive terminal and the black clamp to the negative terminal.
- Step 3: Set the charger to the appropriate mode and monitor the process.
- Step 4: Disconnect the charger and check the battery level before heading out.
Now let’s break it down further.
Step 1: Identify Your Battery Type
Before charging, confirm whether your battery is lead-acid, AGM, or lithium-ion. This helps you choose the right charger and prevents damage. Check your RV manual or the battery label for specifics.
Step 2: Connect the Charger
Place the charger near the battery. Attach the red clamp to the positive terminal (+) and the black clamp to the negative terminal (-). Double-check the connections to avoid shorts or sparks.
Step 3: Set the Charging Mode
Most chargers offer modes like trickle or fast charging. Select the one that matches your battery’s needs. A slow trickle charge is safer and better for long-term health, especially if you’re not in a hurry.
Step 4: Monitor the Process
Keep an eye on the charger display or indicators. Avoid leaving the charger unattended for too long. Overcharging can damage the battery, so stop charging once it reaches full capacity.
Step 5: Disconnect Safely
When the battery is fully charged, turn off the charger and disconnect the clamps. Start with the black clamp (negative) and then remove the red (positive). Check the battery’s voltage with a multimeter to confirm it’s ready.
When to Charge Your Chassis Battery
Chassis batteries need regular charging to stay in top condition, especially if your RV sits idle for long periods. Cold weather, parasitic draws from electronics, and frequent short trips can drain the battery faster than expected. Keeping an eye on your battery’s performance will save you from unexpected hiccups.
Here are some common signs that it’s time to charge your chassis battery:
- The engine cranks slower than usual when starting.
- Lights or dashboard displays are dim.
- The battery needs frequent recharges to hold a charge.
- Your RV has been parked unused for a while.
- Cold weather has caused noticeable power loss.
Tips for Extending the Life of Your RV Chassis Battery
A little TLC goes a long way in making your chassis battery last longer. By following some simple habits, you can keep it running efficiently and avoid premature replacements.
- Clean battery terminals regularly to prevent corrosion.
- Use a trickle charger when your RV is parked for long periods.
- Avoid deep discharges; charge the battery before it runs too low.
- Check the battery’s water levels (for lead-acid batteries) and top up with distilled water if needed.
- Store the battery in a cool, dry place during off-seasons.
- Inspect for wear, damage, or leaks during routine maintenance.
Troubleshooting Common RV Charging Issues
Sometimes, charging your chassis battery doesn’t go as planned. Let’s look at a few common problems and how to tackle them.
Battery Not Holding a Charge
If your battery won’t hold a charge, start by checking for corrosion or loose connections. Clean the terminals with a mix of baking soda and water, and tighten the connections. If the problem persists, test the voltage with a multimeter. A low reading might indicate it’s time for a replacement.
Battery Draining Quickly
Unintended power drains are often caused by parasitic loads, such as clocks or alarms. Disconnect the battery and check for these small draws. Adding a solar panel or disconnect switch can help prevent rapid draining.
Overheating During Charging
Overheating usually means the charger isn’t set correctly or the battery has internal damage. Stop charging immediately, let the battery cool, and check the charger settings. If overheating continues, it’s safer to replace the battery.
Corroded Terminals
Corrosion can disrupt the flow of electricity. Clean the terminals gently with a wire brush and apply an anti-corrosion gel to protect them.
How to Choose the Right Charger for Your RV Chassis Battery
The best charger for your chassis battery is one that matches its type and size while offering features like smart charging to prevent overcharging. Picking the right charger can make all the difference in battery performance and longevity.
Here are some factors to consider when selecting a charger:
- Battery Type: Make sure the charger is compatible with lead-acid, AGM, or lithium-ion batteries.
- Amperage: Choose a charger with the appropriate amperage for your battery’s capacity.
- Smart Features: Look for chargers with automatic shutoff to prevent overcharging.
- Portability: A compact, lightweight charger is easier to store and use.
- Durability: Opt for a charger with a rugged design if you’ll be traveling frequently.
Conclusion
Keeping your RV chassis battery charged is one of those simple habits that makes a big difference in your adventures.
From understanding the type of battery you have to mastering charging methods like shore power, alternator charging, and home setups, you now have all the tools to avoid roadside surprises.
Regular maintenance and troubleshooting will keep your battery in peak condition, so you can focus on what matters—enjoying the open road. Safe travels!
FAQs
Can I overcharge my RV chassis battery?
Yes, overcharging can damage the battery by causing overheating or reducing its lifespan. To avoid this, use a smart charger with an automatic shutoff feature or monitor the charging process closely.
How long does it take to charge a chassis battery fully?
The time depends on the battery’s size, type, and charger amperage. A standard lead-acid battery with a 10-amp charger may take 6–8 hours, while a lithium-ion battery could charge faster depending on the charger.
Can I use the same charger for house and chassis batteries?
It depends on the charger’s compatibility and battery types. Some chargers work for both, but make sure the amperage and settings match the specific needs of each battery.
What happens if I don’t disconnect the battery during long-term storage?
Leaving the battery connected can lead to parasitic drains from electronics, eventually discharging the battery. Disconnecting it or using a trickle charger is the best way to prevent this.
Are solar panels enough to keep my chassis battery charged?
Solar panels can maintain a charge, especially during long idle periods, but their efficiency depends on sunlight availability and panel size. For heavy use, combine solar with another charging method like shore power or a dedicated charger.

Jack Rivers is a long-time RVer, a husband, and a dad who’s traveled solo and now with his family. He’s learned a lot from years on the road, sometimes the hard way. From quiet mornings parked by the woods to messy evenings with the kids and a busted heater, he’s been through it all. Miles writes to share the real stuff, the small wins, and the lessons that make RV life worth it, no matter who you’re traveling with.