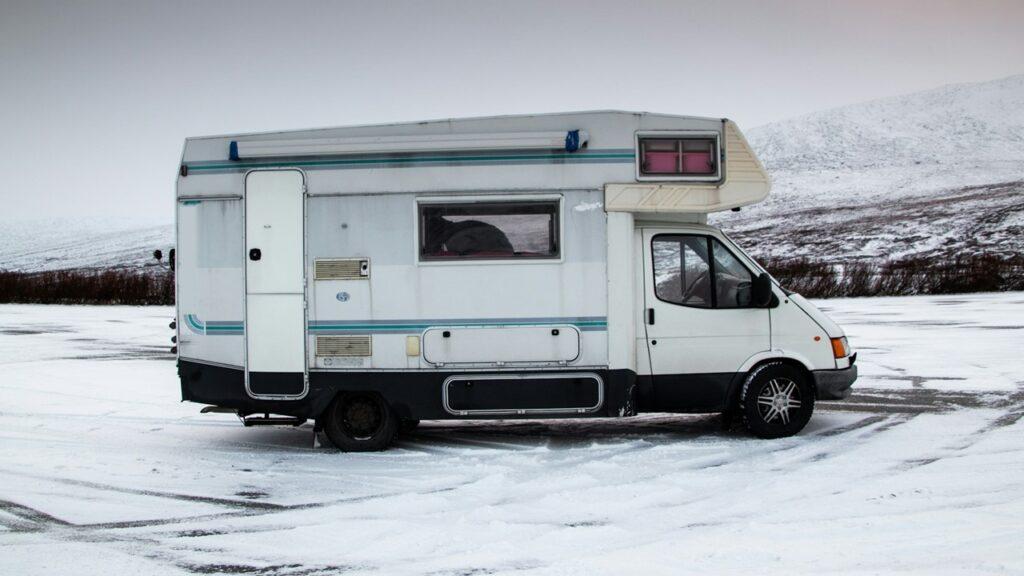
To enjoy all year round road trips you need to ensure your RV, motorhome or camper van is in tip-top shape. This means maintaining its essential parts, like the shower. A well-sealed RV shower prevents leaks that could damage the interior, keeping your journey comfortable and dry. Ignoring this crucial maintenance task can lead to mold, mildew, and water damage, potentially turning your dream trip into a costly nightmare. This step-by-step process to reseal your RV shower for ensuring prolonged and durable journey will help you navigate this essential task. Follow this guide to ensure your shower remains watertight, prolonging your RV’s lifespan and keeping your adventures enjoyable and stress-free. Furthermore, addressing this now can save significant time and money down the road.
What Causes RV Shower Seals to Degrade?
Even the sturdiest RV shower is vulnerable to the elements. Environmental factors play a huge role, with extreme temperatures causing the sealant to expand and contract, breaking its integrity over time. RV showers are often exposed to a range of temperatures, from scorching summer heat to freezing winter chills, which stress the sealant and can cause cracks or splits.
Chemical exposure from cleaning agents or even the water itself can also accelerate the degradation of sealant materials. Frequent use of harsh chemicals can break down the composition of the sealant, causing it to lose its effectiveness.
Additionally, the impact of regular wear and tear cannot be understated. Frequent use, combined with the natural aging process of materials, contributes to the breakdown of seals, necessitating their replacement to maintain the integrity of your RV shower.
It’s crucial to understand these factors to ensure your journey remains comfortable and damage-free. Furthermore, addressing these issues promptly can save you from costly repairs in the future. Consider checking your RV shower regularly to catch any early signs of degradation.
Signs That Your RV Shower Needs Resealing
Recognizing when your RV shower needs a touch-up can be straightforward if you know what to look for. Visual indicators like mold, mildew, and peeling seals are clear signs that the current sealant is failing. These not only compromise the look of your shower but also its functionality and hygiene.
Practical symptoms such as water leakage are more immediate and alarming cues that resealing is necessary. Leaks can quickly lead to water damage, impacting not only your RV shower but also adjacent areas, including walls and flooring, which can escalate into more significant repairs.
If left unchecked, these issues can lead to significant water damage within your RV, affecting other areas and potentially leading to more extensive repairs. Keeping an eye on these signs can help maintain the longevity and functionality of your RV, making your travels worry-free.
Tools and Materials Needed for the Job
Resealing your RV shower isn’t just about applying new sealant; it’s about using the right tools and materials for the job. You’ll need a caulking gun, a utility knife for removing old sealant, and possibly a silicone sealant remover. A scraper or putty knife can also help clear out remaining debris and ensure a smooth surface.
As for materials, a high-quality marine-grade silicone sealant is recommended because it offers better water resistance and flexibility. This type of sealant is designed to withstand exposure to moisture and is often more durable than standard sealants, making it ideal for RV showers.
For those looking to upgrade their setup, consider integrating RV kitchen faucets or RV kitchen sinks, which can also benefit from careful sealing. Choosing the right products is essential for a successful resealing job, ensuring that you won’t have to redo the work anytime soon.
Pre-Resealing Preparation Steps
Before you can start resealing, preparing the area thoroughly is paramount. Cleaning and drying the shower area are critical steps to ensure that the new sealant adheres properly and provides a watertight seal. Any moisture or debris left on the surface can hinder this process.
Additionally, removing old sealant and preparing surfaces is a meticulous task that requires attention to detail. Using a scraper or specialized tool can help clear out old material and create a clean, smooth surface for the new sealant. You can also consider applying a primer to help the new sealant adhere better and last longer.
Proper preparation not only simplifies the application process but also enhances the effectiveness of your new seal, ensuring that it lasts longer and provides better protection against leaks. It’s an essential step that sets the foundation for a successful resealing process, keeping your RV shower in top shape for your upcoming travels.
Step-by-Step Guide to Resealing Your RV Shower
Resealing your RV shower can feel daunting, but with the right guidance, you can ensure your journey remains smooth and stress-free. This guide provides clear steps, helping you maintain your RV’s integrity and keep water damage at bay. Follow this step-by-step process to reseal your RV shower for ensuring prolonged and durable journey, securing both the longevity and comfort of your motorhome.
Step 1: Preparing the Shower Area
Before applying new sealant, thoroughly prepare the shower area. Clean and dry all surfaces, ensuring no dirt, dust, or moisture remains. Additionally, use a utility knife or a scraper to remove any old sealant, creating a smooth surface for the new application. This foundational step ensures that the new sealant adheres properly and provides maximum water resistance.
Step 2: Choosing the Right Sealant
Select a high-quality marine-grade silicone sealant for resealing. This type of sealant offers superior water resistance and flexibility, making it ideal for RV showers. Marine-grade sealants are also more durable, withstanding the wear and tear of regular use and exposure to cleaning agents. Ensure you choose a product that is compatible with your shower materials, providing a secure, lasting seal.
Step 3: Applying the Sealant
Load your chosen sealant into a caulking gun, and carefully apply it to the prepared seams. Move slowly and steadily, maintaining even pressure to create a smooth, consistent line of sealant. If necessary, use a gloved finger or a sealant tool to smooth out the bead, ensuring full coverage and preventing gaps. This step is crucial for creating a watertight seal, protecting your RV shower from future leaks.
Step 4: Allowing the Sealant to Cure
After application, allow the sealant sufficient time to cure and set. Follow the manufacturer’s instructions for curing time, which can range from 24 hours to several days. Avoid using the shower during this period to prevent disturbing the seal. Moreover, ensure the area remains dry and free from temperature extremes, which could affect the curing process.
Step 5: Post-Resealing Checks
Once the sealant has cured, inspect the shower seams to ensure the seal is intact and watertight. Look for any gaps, cracks, or missed spots, and touch them up if needed. Additionally, test the shower by running water to check for leaks. This final step ensures your resealing efforts have been successful and that your RV shower is ready for future travels.
Completing these steps will help maintain your RV shower’s integrity, protecting against leaks and water damage. This resealing process not only extends the life of your RV shower but also contributes to the overall durability of your motorhome, making it an essential part of RV maintenance. Follow this guide regularly to keep your RV in top shape, ensuring your journey remains enjoyable and stress-free for years to come.
How To Ensure a Watertight Seal
Maintaining a watertight seal is crucial to prevent leaks and damage in your RV shower. This section covers how to test the sealant’s effectiveness and troubleshoot common issues that may arise, ensuring your RV remains in top condition for your journey.
Once the sealant has cured, test its effectiveness by running water through the shower. Observe the seams closely to check for any leakage or seepage. If you notice any signs of water escaping, reapply sealant to the affected areas, allowing it to cure before testing again. Repeat this process until no leaks are present.
Common issues include bubbles, uneven sealing, or gaps in the sealant. If you spot bubbles, press them down gently with a finger or sealant tool. For uneven sealing, smooth the affected area with a gloved finger or the back of a spoon. Gaps should be filled in immediately, allowing the new sealant to cure fully before further testing.
This troubleshooting process ensures a watertight seal, preventing water damage and preserving the longevity of your RV shower, making it ready for future travels.
Maintaining Your Newly Sealed RV Shower
After resealing your RV shower, it’s important to maintain it properly to prolong its life. This section provides routine maintenance tips and outlines when to consider a reseal, keeping your RV shower in optimal condition.
Regular cleaning with gentle, non-abrasive cleaners is essential. Harsh chemicals or abrasive sponges can degrade the sealant, leading to cracks or splits. Inspect the seams regularly for signs of wear or damage. Additionally, avoid placing heavy objects on shower surfaces, as this can put stress on the sealant, causing it to weaken over time.
If you notice visual indicators like peeling seals, mold, or mildew, or practical symptoms like water leakage, it may be time to consider a reseal. Addressing these issues promptly can prevent further damage, ensuring your RV shower remains functional and watertight. Regular resealing, especially after long periods of travel, can extend the life of the shower and maintain the overall integrity of your RV.
Maintaining your RV shower regularly and knowing when to reseal it ensures the comfort and durability of your motorhome, making your travels enjoyable and worry-free.
Common Mistakes to Avoid While Resealing Your RV Shower
Resealing your RV shower can greatly prolong its functionality, but it’s essential to avoid common mistakes that could compromise its effectiveness. This section discusses two frequent pitfalls: overapplication and underapplication of sealant, and ignoring the manufacturer’s instructions, offering guidance to steer clear of these errors.
Overapplication and Underapplication of Sealant
Applying too much or too little sealant can lead to serious consequences. Overapplication can cause sealant to form messy, uneven clumps, preventing it from bonding properly to surfaces. This leads to unsightly aesthetics and decreases the seal’s effectiveness. On the other hand, underapplication can leave gaps in the seal, allowing water to seep through and cause damage. Avoid these issues by applying an even layer of sealant, smoothing it with a caulking tool or gloved finger to ensure complete coverage.
Ignoring the Manufacturer’s Instructions
Not following the manufacturer’s instructions can lead to ineffective sealing. Each sealant product has unique guidelines regarding application, curing time, and temperature conditions. Ignoring these can result in a weak or faulty seal, prone to leaks and deterioration. Ensure you thoroughly read and adhere to the instructions on the packaging to avoid these issues, resulting in a robust and durable seal.
Avoiding these mistakes ensures a strong, lasting seal for your RV shower, contributing to a smooth and enjoyable journey.
Benefits of Regularly Resealing Your RV Shower
Regular resealing of your RV shower offers numerous benefits that contribute to a comfortable and durable journey. This section covers how maintenance can extend the usable life of your RV shower, along with how a well-maintained seal improves hygiene and comfort.
Extended Lifespan of Your RV Shower
Regular maintenance, including resealing, can extend the usable life of your RV shower. By keeping water from seeping into crevices, you prevent structural damage and the need for costly repairs. This proactive approach preserves the integrity of your RV shower, allowing you to enjoy it for years to come, without worrying about leaks or breakdowns.
Improved Hygiene and Comfort
A well-maintained seal prevents mold and mildew growth, improving the overall hygiene of your RV shower. This not only makes your shower more pleasant to use but also reduces the risk of health issues that can arise from prolonged mold exposure. Additionally, a watertight seal keeps your RV dry, enhancing the comfort of your living space during travels.
By regularly resealing your RV shower, you not only maintain its functionality but also create a healthier, more comfortable environment, allowing you to enjoy your journeys worry-free.
When to Call a Professional for Your RV Shower Resealing
Resealing an RV shower can be a manageable DIY task for some, but there are scenarios where calling a professional is the wisest choice. This section discusses when to seek expert help, ensuring the resealing process goes smoothly and effectively.
For instance, if the shower area has extensive damage or the sealant has significantly deteriorated, a professional may be needed. They can evaluate the scope of the problem, recommend the best materials, and apply them skillfully, preventing leaks or water damage. Additionally, professionals are equipped with specialized tools and techniques, offering solutions beyond what DIY efforts can achieve.
Another scenario that warrants professional help is when multiple areas of the RV shower require resealing. A professional can work through these areas efficiently, ensuring consistent, quality results across the entire shower. This also saves time, allowing you to focus on planning your travels.
Furthermore, professional assistance is essential if the resealing involves complex materials or intricate surfaces. Different shower types and materials require specific approaches, and a professional’s expertise can ensure each is handled appropriately. Ignoring these nuances can lead to improper sealing and potential leaks.
In summary, calling a professional is the right choice for extensive damage, complex materials, or time constraints. This ensures your RV shower is resealed effectively, contributing to a durable and enjoyable journey.
Wrapping It Up!
Maintaining a well-sealed RV shower is essential for preserving the quality and comfort of your motorhome. This step-by-step process to reseal your RV shower for ensuring prolonged and durable journey provides the necessary guidance, preventing water damage and extending the shower’s lifespan.
By resealing your RV shower regularly, you reduce the risk of leaks, mold, and mildew, improving the overall hygiene and functionality of your shower. Additionally, following these steps helps you avoid costly repairs, ensuring your RV remains in top condition for years to come.
For those needing assistance, calling a professional can streamline the resealing process, particularly for extensive damage or complex materials. This ensures consistent, high-quality results, safeguarding the integrity of your RV shower.
In closing, maintaining a well-sealed shower is an integral part of RV care, contributing to the overall quality and comfort of your living space. Regular resealing not only prolongs the life of your shower but also enhances your motorhome’s durability, ensuring enjoyable travels ahead.
Related FAQs
How Often Should I Reseal My RV Shower?
It’s recommended to reseal your RV shower every 1-2 years to prevent leaks and damage.
What Kind of Sealant Should I Use?
A marine-grade silicone sealant offers superior water resistance and flexibility for RV showers.
How Can I Prevent Mold and Mildew in My RV Shower?
Regularly clean and dry your shower, and ensure proper ventilation to avoid moisture buildup.
Can I Use Household Cleaning Products on My RV Shower?
Avoid harsh chemicals; use gentle, RV-safe cleaners to protect seals and materials.
How Long Does Resealing an RV Shower Take?
The resealing process can take a few hours, including cleaning, sealing, and drying time.
As outdoor enthusiasts ourselves, we understand the significance of reliable gear that can withstand the elements and support you throughout your journey. We try to provide as much real life information with our guides and how tos to the readers as possible. Our honest and transparent reviews of essential outdoor gadgets and products are rooted in testing and experience. We take great satisfaction in offering unbiased evaluations, ensuring that you can make informed decisions when investing in outdoor gear. As an affiliate website, we may earn a small commission from some of the products we feature. However, rest assured that our opinions are not influenced by this, and your trust is always our top priority.