Whether you’re parked under the blazing sun of Arizona or nestled among the towering trees of the Pacific Northwest, installing blackout curtains in your RV isn’t just a detail—it’s a transformation of your space. In this Step-by-Step Guide to Installing Blackout Curtains in Your RV, we delve into not only the ‘how’ but also the ‘why’ behind choosing the perfect curtains that ensure privacy, temperature control, and ultimate comfort.
As we embark on this guide, envision your RV not just as a vehicle, but as a sanctuary on wheels. The right blackout curtains can shift your RV from merely functional to luxuriously livable. Let’s explore how these simple additions can enhance every moment of your journey, making every stop more comfortable than the last.
Benefits of Blackout Curtains for RVs
Imagine stepping into your RV after a long day of hiking or exploring the bustling streets of a new city. You’re greeted not only by the familiar comforts of home but by a cool, shaded interior, thanks to your newly installed blackout curtains. But the benefits of these curtains extend far beyond a welcome respite from the sun.
Privacy is paramount when you’re living on the road. Blackout curtains offer a seclusion layer, shielding you from the curious eyes of nearby campers or passersby. Furthermore, they serve as excellent insulators. These curtains help maintain your RV’s internal temperature, keeping it warm during chilly nights and cool under the harsh sun, which significantly reduces your energy usage and can help prolong the life of your RV air conditioners and other climate control systems.
Moreover, consider the improvement in sleep quality. Blackout curtains block out the intrusive lights of RV parks or early sunrises, ensuring you get a restful night’s sleep every time. This is crucial, especially when you need to be well-rested for the next day’s adventures. Whether you’re parked near a bright city or under the vast, starlit sky, blackout curtains turn your RV into a haven of rest.
How To Choose The Right Blackout Curtains for Your RV
Selecting the right blackout curtains for your RV is akin to choosing the perfect accessory that complements an outfit—it should be both functional and stylish. The first step is understanding the material; heavy-duty fabrics that block light and insulate well are ideal. Look for curtains with a thermal backing to further enhance their energy efficiency.
The size and fit of the curtains are crucial. Measure your RV’s windows precisely, ensuring that the curtains will cover the windows completely, thus avoiding any light leaks which are a common nuisance. This attention to detail will maximize the functional benefits of your blackout curtains.
When it comes to style and color, think about the interior of your RV. Blackout curtains come in various colors and patterns that can brighten your space or give it a more subdued tone. Remember, the color you choose can affect the perceived size and warmth of your interior—a lighter color might make the space feel bigger, while darker hues might make it feel cozier.
As you install these curtains, consider integrating them with RV solar generators and RV LED lighting systems for an energy-efficient lighting solution that complements your new setup. This synergy not only enhances the functionality of your living space but also aligns with a sustainable approach to RV living.
Installing blackout curtains in your RV is more than just an upgrade—it’s a smart, stylish way to enhance your living space while addressing practical needs like privacy, comfort, and energy efficiency. With this guide, you’re well on your way to making an informed choice that will enrich your RV lifestyle, proving that sometimes, the best upgrades are also the simplest.
Step-by-Step Installation Guide
Installing blackout curtains in your RV is a straightforward yet rewarding project that transforms your mobile home into a haven of comfort and privacy. Follow this Step-by-Step Guide to Installing Blackout Curtains in Your RV to make your RV trips more enjoyable.
Step 1: Measure Your Windows
Start by measuring the height and width of each window. Ensure you include a few extra inches on each side to avoid light leaks. This is crucial for maintaining the blackout effect, improving sleep quality, and protecting the interior from UV damage.
Step 2: Choose the Right Hardware
Consider the type of curtain rod or track that suits your RV’s design. Whether you opt for tension rods or a ceiling-mounted track, ensure it’s sturdy enough to support the weight of your curtains and aligns seamlessly with your RV’s interior design.
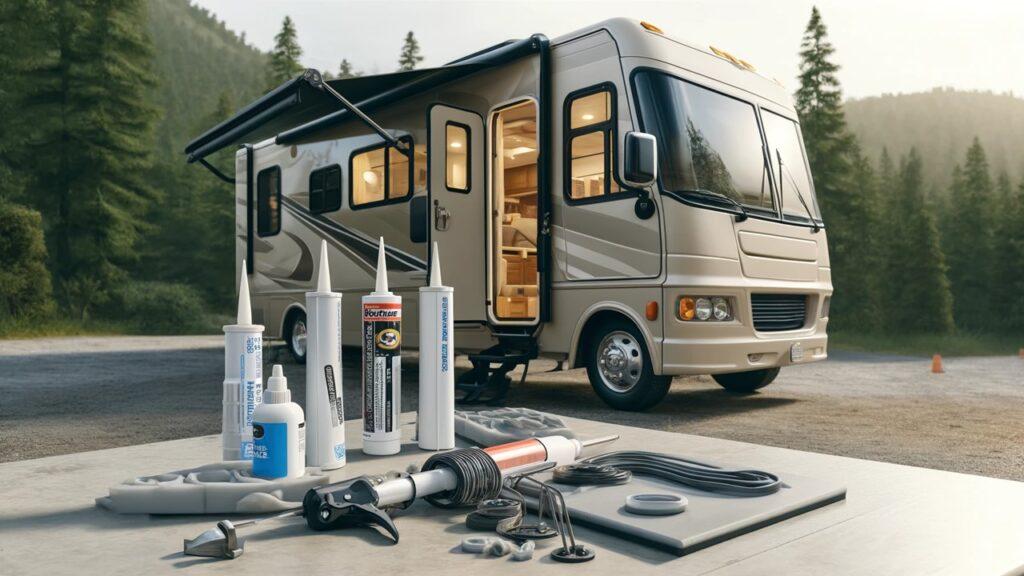
Step 3: Install the Hardware
Carefully install the chosen hardware, following the manufacturer’s instructions. Ensure the rods or tracks are level and securely attached to the RV walls or ceiling. For wall-mounted rods, use a stud finder to locate and secure them to avoid damage.
Step 4: Hang the Curtains
Slide the blackout curtains onto the rod or track, ensuring they’re evenly distributed and completely cover the window. This simple step dramatically improves your RV’s interior, blocking out sunlight and offering superior insulation.
Step 5: Check for Light Leaks
Once hung, inspect the curtains for any light leaks. Adjust the curtains or add curtain liners if necessary to seal off any gaps. This step is vital to maintain temperature control and energy efficiency.
Enhancing Your RV’s Blackout Curtains
While blackout curtains effectively block light and improve insulation, there are additional steps to elevate their functionality. Here are a few ways to enhance your RV’s curtains further.
- Thermal Liners: Adding thermal liners to your blackout curtains enhances their insulation properties, keeping your RV cool in summer and warm in winter. This not only improves comfort but also reduces the strain on your RV air conditioners and other climate control systems.
- Tiebacks and Hooks: Incorporate tiebacks or hooks to hold the curtains open when not in use, giving you flexibility in controlling light and views. This small addition makes transitioning between open and closed curtains seamless, enhancing the overall experience.
- Integrated Storage Pockets: Consider curtains with integrated storage pockets, offering a convenient way to store remotes, chargers, and small essentials. This is especially useful in smaller RVs, where maximizing space is a priority.
Maintenance and Care for RV Blackout Curtains
Keeping your RV’s blackout curtains in top condition requires regular care. Here’s how to maintain them effectively.
- Regular Cleaning: Dust and vacuum your curtains regularly to prevent allergens and maintain a clean interior. Additionally, consider spot cleaning with mild detergent for stains, ensuring not to saturate the fabric.
- Check for Wear and Tear: Inspect the curtains for wear and tear, particularly around the hems and seams. Repair or replace them as needed to ensure they continue to provide insulation and privacy.
- Storage Tips: When not in use, store your curtains in a dry, cool place to prevent damage. Roll them up instead of folding them to avoid creases, prolonging their lifespan.
Blackout curtains provide invaluable benefits to RV owners, from privacy and comfort to energy efficiency. Following this guide, you can easily install and maintain curtains that transform your RV into a cozy, secure space, ready for any adventure. Whether you’re parked in a bustling RV park or exploring the great outdoors, installing blackout curtains offer unparalleled comfort, enhancing your RV lifestyle.
Additional Tips for Blackout Curtains in RVs
To make the most of your RV blackout curtains, there are several additional tips to consider. By optimizing your curtains, you enhance your comfort and elevate your RV lifestyle.
- Curtain Accessories: Incorporating accessories such as tiebacks and hooks offers flexibility in controlling light and privacy. Tiebacks allow you to keep the curtains open during the day, providing natural light and scenic views, while also making it easier to manage the transition to complete blackout mode at night. You can also choose designs that complement your RV’s interior.
- Insulation Upgrades: For improved thermal regulation, consider adding thermal liners to your blackout curtains. This not only boosts insulation, keeping your RV cooler in summer and warmer in winter, but also reduces the strain on your RV air conditioners and other climate control systems. Furthermore, these liners block out noise, creating a serene environment inside your RV.
- Custom Fit and Styling: For an aesthetically pleasing and functional setup, consider custom-fitting blackout curtains to your RV’s specific window sizes. This minimizes light leaks, provides a sleek look, and ensures a snug fit that contributes to energy efficiency. Additionally, you can select fabrics and colors that match your RV’s interior, enhancing its overall appearance.
- Routine Cleaning and Care: Maintaining your blackout curtains through regular cleaning and spot treatments helps keep them in top condition. Vacuuming and dusting the curtains regularly prevents allergens and maintains a clean interior. Moreover, promptly addressing stains with mild detergent ensures they remain fresh and durable.
- Upgrading to Motorized Curtains: For added convenience, consider upgrading to motorized blackout curtains. These can be controlled remotely, making it easier to manage light levels, especially in larger RVs. This upgrade also adds a modern touch to your RV’s interior, enhancing its overall functionality.
Wrapping It Up!
Installing blackout curtains provide numerous benefits for RV owners, from light control to enhanced comfort and energy efficiency. By following these tips, you can optimize your curtains, making your RV a more enjoyable place to stay. From tiebacks to motorized options, these enhancements improve the functionality and aesthetic of your RV, contributing to a comfortable and cozy environment.
Regular cleaning and maintenance ensure your blackout curtains continue to perform effectively, while accessories and liners offer additional benefits, including noise reduction and thermal insulation. Custom-fit curtains provide a seamless look, making your RV feel like a true home on wheels.
In conclusion, taking the time to installing blackout curtains and taking care for your blackout curtains not only improves your comfort but also enhances your RV experience. Whether embarking on a weekend getaway or a long-term road trip, these curtains make your RV a welcoming retreat. Furthermore, considering options like thermal liners, tiebacks, and motorized curtains can elevate your RV’s functionality, making it an even better place to enjoy your travels.
Related FAQs
How Do I Choose the Right Rods for Blackout Curtains?
Select sturdy rods that fit your RV’s style and securely hold the curtains.
Can Blackout Curtains Be Cleaned in an RV?
Yes, regular vacuuming or spot cleaning with mild detergent maintains freshness.
Do Blackout Curtains Improve RV Energy Efficiency?
Yes, by insulating windows, they reduce heating and cooling costs significantly.
How Do I Prevent Light Leaks in My RV Curtains?
Ensure curtains fully cover windows, or consider adding liners for complete blackout.
Can I Install Motorized Blackout Curtains in My RV?
Yes, motorized curtains add convenience and can be remotely controlled for ease.
As outdoor enthusiasts ourselves, we understand the significance of reliable gear that can withstand the elements and support you throughout your journey. We try to provide as much real life information with our guides and how tos to the readers as possible. Our honest and transparent reviews of essential outdoor gadgets and products are rooted in testing and experience. We take great satisfaction in offering unbiased evaluations, ensuring that you can make informed decisions when investing in outdoor gear. As an affiliate website, we may earn a small commission from some of the products we feature. However, rest assured that our opinions are not influenced by this, and your trust is always our top priority.