Have you ever thought about the crucial role that vent covers play in your RV? Well, whether you’re gearing up for a summer road trip or prepping for a season of comfort, these humble components are pivotal to your RV’s well-being. Moreover, there are several compelling reasons why you might consider replacing your RV vent covers—from tackling wear and tear to boosting functionality. In this engaging introduction, we’ll dive into why these covers are more than just accessories and explore the common signs that it’s time for a replacement. Join us as we lay the groundwork for a smoother, more efficient journey in your beloved camper van.
Understanding RV Vent Covers
When embarking on your next RV adventure, don’t overlook the small yet significant role of vent covers. These components are not just a detail; they’re essential to the comfort and durability of your RV. Whether you own a Class A motorhome or a cozy camper van, understanding the nuances of vent covers can greatly enhance your road trip experience. In this comprehensive section, we’ll explore everything from the various types of vent covers to recognizing when they need a replacement, and how to select the perfect fit for your travel needs.
RV Vent Types and Their Covers
Every RV model sports a different design, which extends to the vent systems. Vent covers, though often overlooked, play a crucial role in the functionality of your RV. They protect your interior from environmental elements and help maintain air quality. There are several types of vent covers, each designed for specific roles. For instance, the standard vent cover allows air circulation while keeping out debris and rain. On the other hand, the solar vent covers can even power fans using sunlight, enhancing air circulation without draining the RV’s battery. Moreover, there are insulated vent covers, perfect for those who venture into colder climates, helping maintain heat within the RV. Understanding the specific needs of your RV and the environmental conditions you expect to face is key to choosing the right type of vent cover.
Signs That Your RV Vent Cover Needs Replacement
Over time, your RV’s vent covers can become a silent victim of the road’s harshness. Exposure to sun, wind, and rain can cause them to deteriorate. Signs like cracked or brittle plastic, noticeable leaks during rain, or increased noise can all signal that your vent cover is due for a replacement. Additionally, if you notice a decrease in air quality or an increase in dust inside your RV, it might be time to check the integrity of your vent covers. Regular inspections can save you from unexpected problems, especially when you’re miles away from home. Paying attention to these signs can ensure that your vent covers continue to protect your RV effectively.
How To ChooseThe Right Vent Cover for Your RV
Selecting the right vent cover involves more than just measuring the size. You need to consider factors like the material durability, the climate you’ll be traveling in, and the level of ventilation required. For example, metal vent covers might be preferable for their durability but can increase heat within the RV in sunny climates. Meanwhile, polyethylene covers offer excellent UV resistance, making them ideal for long-term use in sun-exposed conditions. Also, think about the ease of installation and maintenance. Some covers come with quick-install features, making them ideal for RV enthusiasts who prefer a DIY approach. Understanding these factors will help you make an informed decision, ensuring that your chosen vent cover meets both your practical needs and travel lifestyle.
It’s clear that these components are crucial for maintaining the comfort, safety, and integrity of your RV. From selecting the right type to recognizing when a replacement is due, being informed is your best strategy. Equip your RV with the best vent covers and continue to enjoy the freedom of the open road, knowing every detail of your mobile home is tailored to perfection. Remember, the right vent cover not only enhances the functionality of your RV but also contributes to the longevity and enjoyment of your travels.
Preparing to Replace RV Vent Covers
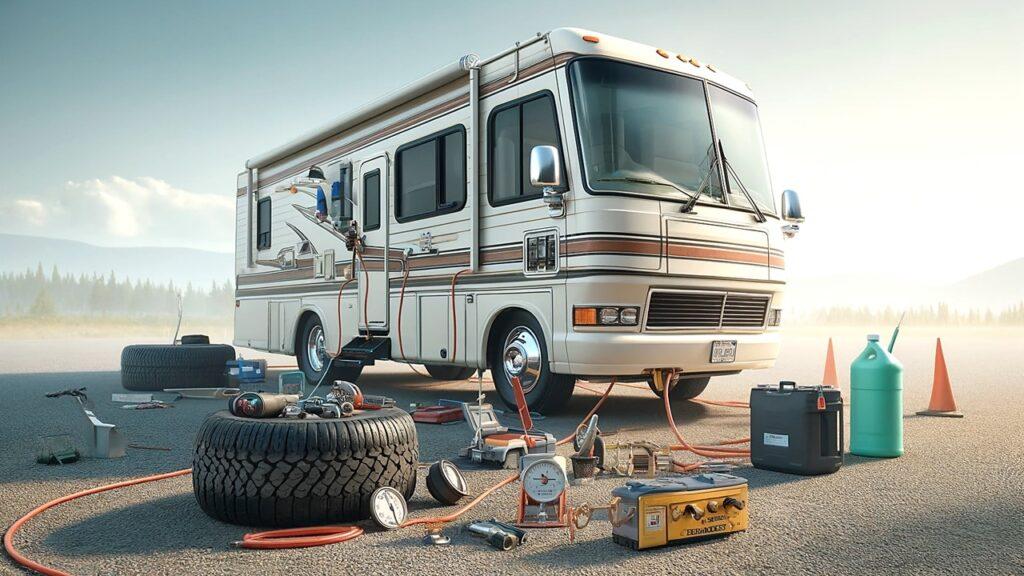
Replacing your RV vent covers is more than a simple swap-out; it’s a proactive step to enhance your mobile living experience. Whether you’re getting ready for a full season of adventure or ensuring your camper van is in top shape, proper preparation is key. This section will guide you through measuring your vents accurately, selecting the essential RV mechanics tools and materials, and safely removing old vent covers. Let’s gear up for a smooth replacement process that keeps your RV running efficiently and comfortably.
How to Measure Your RV Vent for a New Cover
The first step in replacing your vent cover is to ensure you purchase the right size, and measuring accurately is crucial. Start by accessing your roof safely using a ladder, and ensure you’re equipped with a tape measure. Measure both the length and width of the existing vent opening to the nearest eighth of an inch, and note these dimensions down. It’s also wise to check if the vent shape is standard (usually square or rectangular). Record these measurements and double-check them; having the correct size is essential for a seamless fit and effective protection from the elements.
Essential Tools and Materials for Replacing Vent Covers
To replace a vent cover effectively, you’ll need more than just a new cover. Gather a screwdriver, sealant, utility knife, and caulking gun—tools that are indispensable for the job. Additionally, consider using high-quality sealants designed for RV use to ensure durability and resistance to weather conditions. Good brands offers products specifically for RVs, ensuring compatibility and ease of use. Also, keep some cleaning wipes and a measuring tape handy to assist in preparing the surface for the new installation. Having these tools and materials at the ready will streamline the replacement process and prevent common installation issues.
Removing the Old Vent Cover
Removing the old vent cover is perhaps the most delicate part of the process, as you want to avoid damaging your RV’s roof. Begin by carefully unscrewing the fasteners that hold the vent cover in place, using a screwdriver suitable for the screw type. Once loose, gently lift the cover. If it resists, it’s likely sealed with caulking, which you can cut away with a utility knife. Clean the exposed surface thoroughly to remove any residual sealant or debris, ensuring a clean area for your new vent cover. Taking the time to prepare the surface properly can prevent leaks and ensure a firm fit for the new cover.
A successful installation starts with meticulous preparation. From measuring accurately to gathering the right tools and removing the old cover safely, each step is crucial. With your site prepared and materials at hand, you’re now ready to install a new vent cover that will protect and enhance your RV for miles to come. Embrace this part of RV maintenance as an opportunity to know your vehicle better and ensure it remains a safe, comfortable home on the wheels throughout your travels.
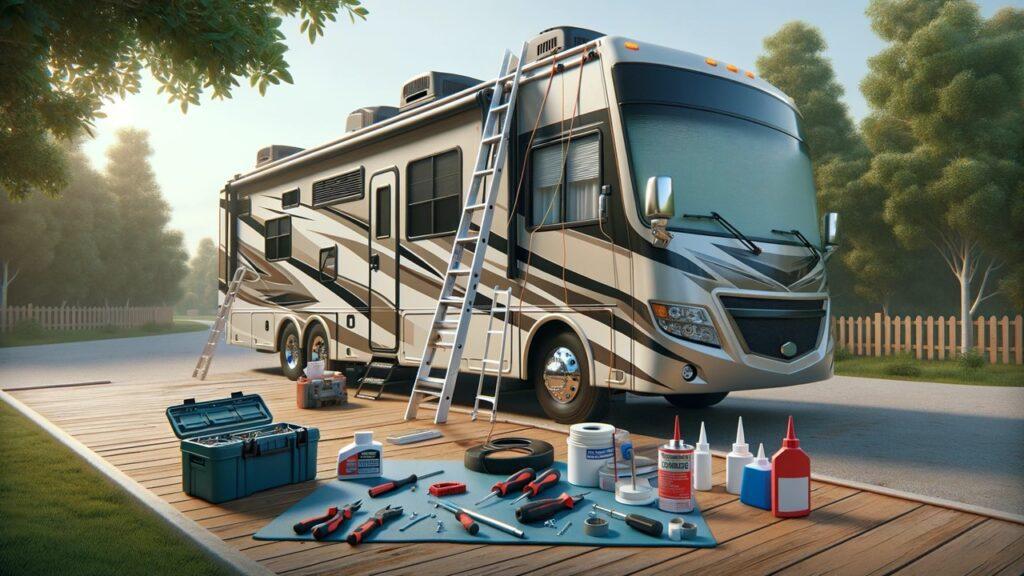
Step-by-Step Guide to Installing New RV Vent Covers
Upgrading your RV vent covers is a brilliant move toward safeguarding your beloved home on wheels from the elements, ensuring that every journey is as comfortable as the last. Whether you’re dealing with wear and tear or simply enhancing your RV’s defenses, a precise installation can dramatically increase your vent covers’ effectiveness. Let’s embark on this straightforward, step-by-step journey to install your new vent covers, boosting your RV’s comfort and durability.
Step 1: Thoroughly Clean the Vent Opening
The first step in your installation journey involves preparing a clean surface. Remove all remnants of old sealant, dust, or debris from the vent opening. A pristine area ensures that the new sealant adheres properly, creating a strong foundation for your new cover.
Step 2: Apply a Bead of RV-Grade Sealant
Once the surface is clean, apply a continuous bead of high-quality RV sealant around the entire edge of the vent opening. This methodical application is essential for preventing water leaks from vents and ensures that your vent cover has a solid base to adhere to.
Step 3: Position the New Vent Cover
Now, place the new vent cover over the opening, carefully aligning it to ensure it sits evenly. Gently press down to form a tight seal with the freshly applied sealant. Proper alignment is crucial here to prevent future issues with fit and leakage.
Step 4: Secure the Vent Cover with Screws
Attach the vent cover to your RV’s roof using screws, being cautious not to over-tighten. Over-tightening can warp the cover or damage the seal, leading to gaps. A firm, snug fit is your goal, securing the cover while keeping its integrity intact.
Step 5: Seal the Edges and Screws
With the cover in place, apply an additional layer of sealant around the perimeter and over the screw heads. This extra precaution ensures that no moisture can seep through, offering an additional layer of protection against the unpredictable outdoor environment.
Step 6: Inspect the Installation
Take a moment to inspect your installation. Look for any uneven areas or missing sealant that could allow water to penetrate. Addressing these issues now can save you a great deal of hassle later, ensuring that your installation is watertight and secure.
Step 7: Allow the Sealant to Cure
Finally, allow the sealant sufficient time to cure, as recommended by the manufacturer. This often overlooked step is vital for the sealant to achieve its full protective potential. Keep the vent cover free from moisture and debris during this period to ensure optimal results.
By following these detailed steps, you not only protect your RV from water damage but also enhance the overall integrity and functionality of your living space. Now that your new vent covers are perfectly installed, you’re all set for more secure and enjoyable adventures in your RV. Here’s to many more miles of worry-free travels in your well-maintained mobile home!
Maintaining Your RV Vent Covers
Maintaining your RV vent covers is not just about prolonging their lifespan; it’s about ensuring the overall health and comfort of your mobile sanctuary. Regular maintenance keeps your vent covers effective, preventing unwanted leaks and debris entry that can complicate your travels. Here, we delve into the essential practices that help you keep your vent covers in top-notch condition, ensuring they continue to perform their critical role seamlessly.
Proper maintenance of your RV vent covers involves regular inspections and cleaning. At least twice a year, climb up to inspect each vent cover for signs of wear such as cracks, brittleness, or warping. These physical changes can impair the cover’s ability to protect your RV’s interior from water and debris. Furthermore, cleaning your vent covers during these inspections is crucial. Use a gentle cleaner and a soft cloth to wipe away any dirt or grime accumulated, which could otherwise lead to material degradation over time.
Additionally, it’s wise to check the sealant around each vent cover regularly. If you notice any peeling or gaps in the sealant, reapply a high-quality RV-grade sealant to ensure a watertight barrier remains intact. This simple step can prevent a multitude of issues related to moisture intrusion, which is often the root cause of more significant damages within RVs.
Lastly, consider the environment where you typically travel or store your RV. If you frequent areas with harsh weather conditions or high UV exposure, you might need to perform maintenance checks more frequently. Adapting your maintenance schedule to fit your travel lifestyle not only enhances the longevity of your vent covers but also helps in maintaining the overall integrity of your RV.
Wrapping It Up!
In wrapping up our comprehensive guide to replacing and maintaining RV vent covers, it’s clear that these components, though small, play a pivotal role in the safety and comfort of your RV travels. Whether you’re a seasoned RVer or a weekend warrior, taking the time to properly install and maintain your vent covers can lead to a more enjoyable and hassle-free experience on the road.
Remember, every mile you travel with your RV brings new experiences and memories, and the last thing you want is for minor overlooked details like vent cover maintenance to interrupt your adventures. By following the step-by-step installation guide and embracing routine maintenance practices, you’re not just caring for your RV; you’re ensuring a safer, cleaner, and more efficient home away from home. Here’s to countless more journeys in your well-maintained RV, filled with peace of mind and the freedom to explore!
Related FAQs
Can I Replace RV Vent Covers Myself, Or Do I Need Professional Help?
Yes, you can replace RV vent covers yourself with basic tools and careful attention to instructions provided in DIY guides.
What Is the Average Cost to Replace an RV Vent Cover?
The cost can vary, typically ranging from $30 to $100 per cover, depending on the material and specific features.
How Often Should RV Vent Covers Be Replaced?
Replace vent covers every 5 to 10 years, or sooner if you notice significant wear or damage.
Are There Universal RV Vent Covers That Fit Any Model?
While many vent covers are designed to fit standard RV vents, always check measurements for compatibility with your specific model.
Can Upgrading My RV Vent Covers Improve Air Circulation?
Yes, upgrading to vent covers with built-in fans or better aerodynamics can enhance air circulation within your RV.
As outdoor enthusiasts ourselves, we understand the significance of reliable gear that can withstand the elements and support you throughout your journey. We try to provide as much real life information with our guides and how tos to the readers as possible. Our honest and transparent reviews of essential outdoor gadgets and products are rooted in testing and experience. We take great satisfaction in offering unbiased evaluations, ensuring that you can make informed decisions when investing in outdoor gear. As an affiliate website, we may earn a small commission from some of the products we feature. However, rest assured that our opinions are not influenced by this, and your trust is always our top priority.