Ah, the open road calls and your RV is ready to answer—except, what’s this? A leak? Recognizing and swiftly addressing leaks in your recreational vehicle isn’t just a maintenance task; it’s a necessity to safeguard your home-on-wheels from potential damage. From the creeping dampness around your windows and doors to the more alarming drip from the ceiling, leaks can spring up in various forms. Furthermore, understanding how to repair common types of leaks in your RV is crucial, as these unwanted trickles can lead to severe structural damage, mold, and a raft of other moisture-related issues if left unchecked. So, grab your toolkit and let’s get sealing—ensuring your summer adventures remain dry and delightful!
Identifying Different Types of Leaks in Your RV Motorhome
Venturing into the great outdoors in your RV brings a sense of freedom, but it’s vital to keep your mobile abode in top shape. Identifying leaks early can save you from a heap of trouble down the road. Let’s dive into the common culprits of moisture mischief in your RV and how to nip them in the bud.
Window and Door Leaks
Your first clue of a leak around windows and doors might just be a small, innocuous trickle or a draft that wasn’t there before. Detecting these leaks involves a keen eye and sometimes a simple hand test, feeling for drafts or dampness around the frames. Furthermore, ignoring these seemingly minor leaks can lead to extensive water damage over time, warping wood, and encouraging mold growth that could turn your RV experience sour.
Roof and Ceiling Leaks
Next up, the overhead threats. Spotting signs of roof and ceiling leaks often starts with discoloration or water stains that appear on the ceiling panels or along the walls. Water finds the path of least resistance, so even small leaks can result in significant damage, undermining the structural integrity of your RV and leading to costly repairs.
Plumbing and Pipe Leaks in Your RV Camper Van
Plumbing in an RV is susceptible to wear and tear from travel vibrations and temperature changes. To hunt down these leaks, arm yourself with a flashlight and inspect all visible plumbing for signs of dripping or moisture. Common trouble spots include under sinks, around showers, and where pipes enter and exit the RV. Early detection here is crucial to prevent a small leak from becoming a flood.
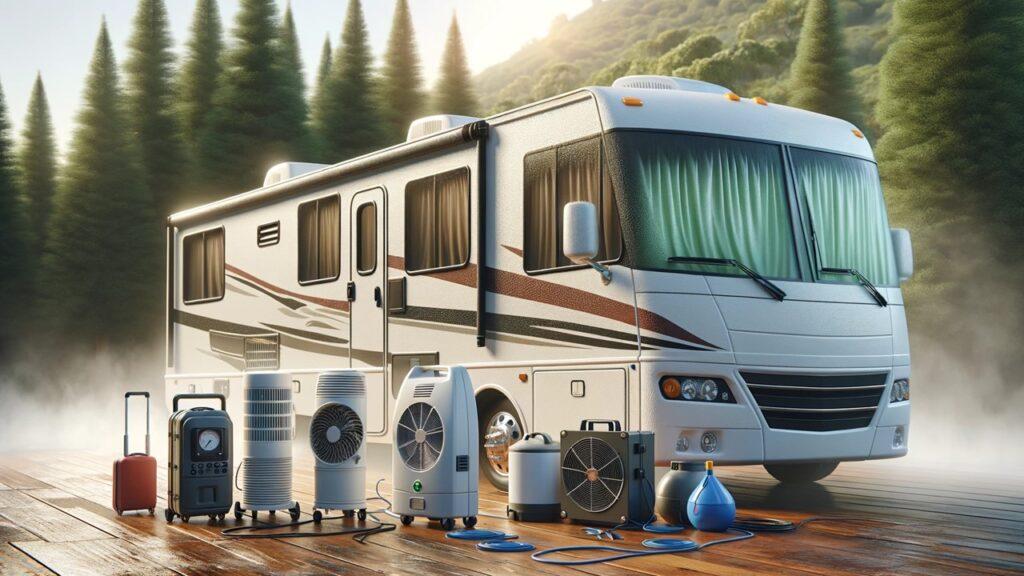
Essential Tools and Materials for RV Leak Repair
With the leaks pinpointed, let’s talk about the tools or RV mechanics tools and materials you’ll need to seal them up and keep your adventure on track. Having the right equipment on hand not only simplifies repairs but also ensures they last.
Basic Tools Every RV Owner Should Have
Every RV toolkit should include items such as sealant guns, screwdrivers, utility knives, and a good flashlight. These tools are your first line of defense in DIY leak repairs. Additionally, possessing a well-equipped repair kit means you’re prepared whenever and wherever leaks happen, safeguarding your travel plans against unexpected interruptions.
Sealing Materials and When to Use Them
When it comes to sealing those pesky leaks, choosing the right material makes all the difference. Silicone sealants are flexible and waterproof, perfect for areas that experience movement and exposure to elements. Acrylic sealants work well for less demanding applications like sealing around windows and doors. For tougher jobs, rubber sealants provide a durable barrier against water. Knowing which type to use and when can effectively maintain the integrity of your RV’s envelope.
Maintaining your RV doesn’t just enhance your current travels—it preserves your road warrior for many adventures to come. As you keep these tips and techniques in mind, you empower yourself to tackle common leaks with confidence and continue exploring the boundless landscapes that call you to adventure.
Step-by-Step Guide to Repairing RV Leaks
Ah, the life on the road! There’s nothing quite like the freedom of traveling in your own RV. But, what do you do when that freedom is threatened by the drip, drip, drip of an unexpected leak? Not to worry, fixing leaks in your RV can be straightforward if you follow these steps carefully. Armed with the right tools and knowledge, you’ll have your sanctuary watertight in no time.
Before diving into the repair process, make sure you have identified the source of the leak. As outlined earlier, window, roof, ceiling, and plumbing leaks each have their tell-tale signs. Once the leak is spotted, gather all necessary tools and materials for the job. This preparation saves time and effort down the road.
Step 1: Clean and Prepare the Area
Start by thoroughly cleaning around the leak area. Any dirt or debris can prevent sealants from adhering correctly. Use a cleaner that won’t leave residues and allow the surface to dry completely.
Step 2: Apply the Sealant
Choose the appropriate sealant for your specific leak type. Silicone works best for most exterior jobs due to its flexibility and durability. Apply the sealant evenly, ensuring all gaps and cracks are covered. Use a caulking gun for precision.
Step 3: Smooth the Sealant
After applying the sealant, smooth it out with a wet finger or a smoothing tool. This not only helps in creating a waterproof barrier but also gives a clean, professional finish.
Step 4: Check for Other Potential Leak Sources
While the sealant dries, take the opportunity to inspect other areas of your RV for potential leaks. Early detection can prevent future problems.
Step 5: Test Your Repair
Once the sealant has dried completely, test the repair by gently spraying the area with water. Watch for leaks. If any moisture gets through, apply additional sealant and repeat the test.
Step 6: Maintain Regular Checks
Regular maintenance is key. Check the repaired area periodically, especially after long trips or extreme weather conditions, to ensure the seal is holding up.
Step 7: Document the Repair Process
Keep a record of all repairs, including the materials used and the date. This documentation can be helpful for future maintenance or if you decide to sell the RV.
Remember, regular maintenance and prompt repair are your best defenses against the challenges of the road. With these steps, you can ensure that your RV remains a safe, dry, and comfortable haven for all your adventures. Drive confidently into your next adventure, knowing you’ve got the skills to keep your RV in pristine condition.
Preventive Measures to Avoid Leaks in Your RV
Before a leak has a chance to dampen your spirits and your RV’s interior, taking preventive measures can save you both time and money. It’s all about regular maintenance and a keen eye for detail. Preventive maintenance isn’t just about fixing issues; it’s about preventing them before they start. This proactive approach to RV care keeps your travels smooth and your living space dry.
Inspect all sealants at least twice a year. Look for cracks, peeling, or any signs of wear. Pay special attention to areas around RV windows, doors, and the roof—these are common leak locations. A fresh bead of sealant might be all you need to stop water in its tracks.
If you notice any damage, don’t wait. Address it immediately to prevent the issue from worsening. This might include replacing old sealant or repairing damaged roofing materials.
When not in use, store your RV in a covered or shaded area to protect it from the harsh elements. Sun and weather exposure can accelerate the wear on sealants and roofing materials, leading to leaks.
Keep your RV clean and free of debris. Leaves and other debris can trap moisture against the roof and other surfaces, leading to rot and leaks. During cleaning, take the opportunity to inspect these areas for any signs of potential leaks.
By following these preventive steps, you’re not just securing your RV against leaks; you’re ensuring that every journey remains as carefree as the last. Regular checks and timely maintenance are the keys to keeping your RV in top condition.
Troubleshooting Common Challenges in Your RV Leak Repair
Even with the right preventive measures, leaks can still occur. Knowing how to effectively troubleshoot can make the difference between a quick fix and a drawn-out repair nightmare. Let’s explore how to handle common challenges that might arise during RV leak repair. No one wants to face a leak, but being prepared can turn a potential disaster into a manageable task. Troubleshooting is all about quick thinking and having the right solutions at your fingertips.
Sometimes, finding the source of the leak is the most challenging part. Water travels, so where you see a leak may not be where it originates. Use a hose to test different areas of the roof while someone watches inside for signs of water.
If a leak persists after your initial repair, it might be time to reevaluate. Ensure that you are using the right materials and that all surfaces are clean and dry before applying any sealant.
Don’t be afraid to call in professional help if you’re out of your depth. Sometimes, a professional RV mechanic can spot issues that aren’t apparent to the untrained eye.
If leaks have led to water damage, address these areas promptly. This might involve replacing insulation, paneling, or even structural elements.
With these troubleshooting tips, you’re well-equipped to handle most common leak challenges in your RV. Remember, the key is to act quickly and not to let small issues turn into big problems. Keep your tools ready, your knowledge sharp, and your adventures will always be dry and comfortable.
Wrapping It Up!
As we wrap up our comprehensive guide on how to repair common types of leaks in your RV, let’s take a moment to revisit the crucial steps and strategies that will keep your RV adventure-ready and leak-free. From identifying the initial signs of leaks around windows, doors, and plumbing, to the detailed process of applying the correct sealants, each step is vital for maintaining the integrity of your traveling home.
Furthermore, regular maintenance is not just a recommendation—it’s a necessity. Regular checks for potential leak sources, timely repairs, and proper storage practices are your best defense against the disruptive and often costly issue of water leaks. By staying proactive, you can ensure that your RV remains a safe and comfortable sanctuary no matter where the road takes you.
Related FAQs
What Are the First Signs of a Leak in an RV?
Early signs include water stains, musty odors, or peeling material around windows and ceilings.
How Often Should I Inspect My RV for Leaks?
Inspect your RV for leaks at least twice a year and after any severe weather events.
Can I Use Any Type of Sealant on My RV?
It’s best to use sealants specific to RVs, like silicone or rubber-based products, for effective results.
What Should I Do If a Leak Persists After a Repair?
Reassess the affected area for missed spots, use additional sealant, or consult a professional.
Are There Preventive Coatings That Help Prevent RV Leaks?
Yes, applying a protective coating like a liquid roof sealer can greatly enhance your RV’s resistance to leaks.

Jack Rivers is a long-time RVer, a husband, and a dad who’s traveled solo and now with his family. He’s learned a lot from years on the road, sometimes the hard way. From quiet mornings parked by the woods to messy evenings with the kids and a busted heater, he’s been through it all. Miles writes to share the real stuff, the small wins, and the lessons that make RV life worth it, no matter who you’re traveling with.