How to plan RV shore power loads (15A/30A/50A) comes down to knowing how much electricity your RV uses and matching it to the service available at the campground. By understanding the limits of 15A, 30A, and 50A connections, you can safely run appliances, charge batteries, prevent tripped breakers, and keep your RV stay powered without relying only on generators or solar.
Key Summary:
- RV shore power comes in three types: 15A (1,800W), 30A (3,600W), and 50A (12,000W).
- Load planning means adding up appliance wattages to stay within the available amps.
- Running multiple high-draw devices together often causes breaker trips or voltage drops.
- Using surge protectors or an EMS keeps your RV safe from power surges and wiring issues.
- Smart load management improves comfort, protects appliances, and extends RV system life.
Disclaimer: We are not licensed electricians or RV technicians. The information in this article is based on general research and practical RV usage experience. Always consult your RV manufacturer’s manual and, when in doubt, seek professional help from a qualified electrician before making electrical decisions.
What Is RV Shore Power?
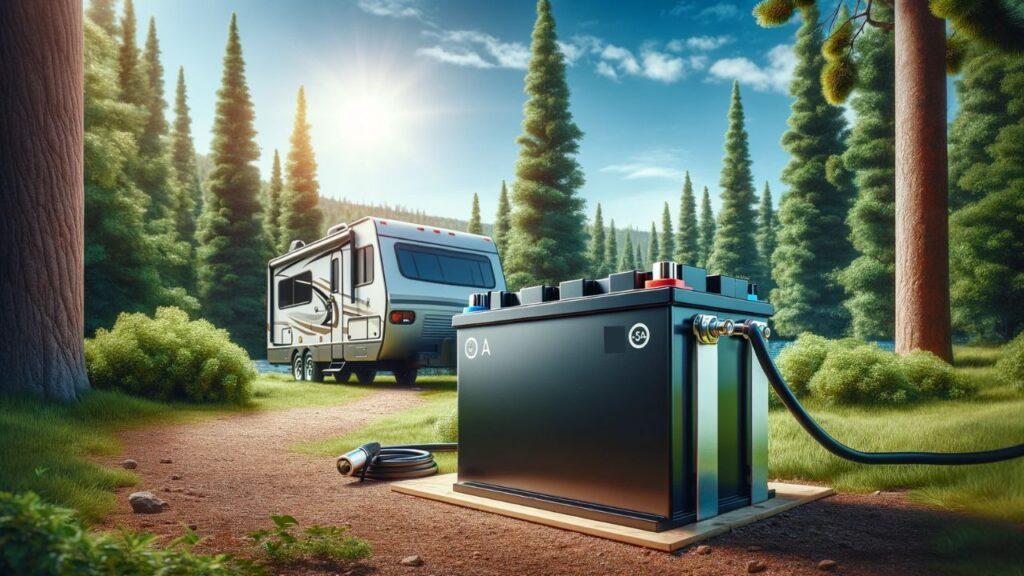
RV shore power means plugging your RV into a power pedestal at a campground or a standard outlet at home. It supplies alternating current (AC) directly to your RV, letting you operate devices as if you were at home.
Different service levels exist—15A, 30A, and 50A—and each one provides a different amount of wattage. Understanding these limits helps you choose the right connection and prevents overloading.
- 15A service provides about 1,800 watts at 120 volts (household circuit).
- 30A service provides about 3,600 watts at 120 volts (dedicated RV circuit).
- 50A service provides up to 12,000 watts across two 120-volt legs (for large RVs).
- Each pedestal type uses a different plug, so your RV connector must match.
- Adapters can change plug shapes, but they do not increase available amperage.
Why Load Planning Matters
Load planning means knowing how much power your RV appliances will use before you plug in. Without a plan, it’s easy to trip breakers, damage sensitive equipment, or end up without enough power for essentials.
By adding up appliance wattages and comparing them to the available service, you can avoid problems and camp with confidence.
- Breakers trip when demand exceeds the pedestal’s amperage limit.
- Appliances run inefficiently or get damaged when voltage drops too low.
- Poor planning can limit comfort—like not being able to run AC and microwave together on 30A.
- Energy management systems (EMS) protect your RV from surges and low voltage.
- Smart load management extends appliance life and reduces fire risks.
RV Shore Power Options Explained (15A vs 30A vs 50A)
When you plug your RV into campground electricity, you’ll usually find three service types: 15A, 30A, and 50A. Each option delivers a different amount of power, and knowing the difference helps you avoid tripped breakers or damaged appliances.
15A Service (Household Circuit)
A 15-amp connection is essentially the same as a household outlet. It gives you about 1,800 watts of power, which is enough for light use but not for multiple large appliances at once.
- Supports one high-draw device such as a space heater or microwave.
- Not enough for both AC and kitchen appliances running simultaneously.
- Works best for overnight charging, lights, or basic small appliances.
30A Service (Single Hot Leg)
A 30-amp service is the most common setup for mid-sized RVs and travel trailers. It provides about 3,600 watts, giving you more flexibility than 15A, but still requiring you to monitor simultaneous loads.
- Enough for one air conditioner plus small appliances like a fridge or coffee maker.
- Running AC, microwave, and water heater at the same time may overload the circuit.
- Ideal for rigs with one AC and moderate electrical demand.
50A Service (Dual Hot Legs)
A 50-amp service is designed for large Class A motorhomes and luxury fifth wheels. With two separate 120-volt hot legs, it delivers up to 12,000 watts of power and supports true load balancing.
- Easily powers multiple AC units, residential fridge, and even a washer/dryer.
- Best for full-timers or high-power setups with complete home-like comfort.
- Requires balancing loads between the two legs to avoid tripping one side.
Comparison Table of 15A, 30A, 50A
| Service Type | Voltage | Amperage | Total Watts | Typical Use | Common RV Type |
| 15A | 120V | 15A | ~1,800W | Lights, fridge, or one high-draw device | Small trailers, vans |
| 30A | 120V | 30A | ~3,600W | AC + fridge + small appliances (not all at once) | Travel trailers, Class C |
| 50A | 120V ×2 | 50A ×2 | ~12,000W | Multiple ACs, washer/dryer, full residential load | Class A, luxury fifth wheels |
How To Calculate Your RV Power Needs
Planning your loads begins with knowing exactly how much power each device uses. By listing, converting, and adding your appliances, you can prevent overloads before they happen.
Step 1: List Appliances by Wattage
Every RV appliance has a wattage rating, usually found on a label or in the manual. Writing them down helps you see the total demand.
- High-draw: air conditioner (1,000–2,000W), microwave (1,100W), water heater (1,500W).
- Low-draw: LED lights (10–30W), phone chargers (5–20W), TV (100W).
Step 2: Convert Amps & Watts (Formula)
If your device lists amps instead of watts, you can convert using a simple formula. This helps you understand how much of your circuit capacity is being consumed.
Watts = Volts × Amps
Examples:
- 1,500W space heater ÷ 120V = ~12.5A.
- 1,200W RV air conditioner ÷ 120V = ~10A.
Step 3: Add Up Simultaneous Loads
The most important part is adding the devices you plan to run at the same time. This shows whether you’ll stay within your shore power capacity.
Example:
- AC = 1,200W
- Microwave = 1,100W
- Water heater = 1,500W
- Total = 3,800W (already over the 30A service limit of 3,600W).
Practical Load Calculator (Quick Reference Table)
Here’s a handy chart you can use to estimate how much capacity each device uses on a 120V connection.
| Appliance | Typical Wattage | Amps @120V |
| Air Conditioner (small) | 1,200W | ~10A |
| Microwave | 1,100W | ~9A |
| Water Heater (electric) | 1,500W | ~12.5A |
| Space Heater | 1,500W | ~12.5A |
| Coffee Maker | 900W | ~7.5A |
| TV | 100W | ~0.8A |
| LED Lights (10 bulbs) | 100W | ~0.8A |
| Phone Charger | 10W | ~0.1A |
Choosing the Right Shore Power Connection
Your RV’s plug and electrical system are built for a specific service type. Matching the connection correctly prevents overheating, keeps loads stable, and ensures safe operation.
Match Your RV Plug Type
Different RV classes use different connectors, and each corresponds to the pedestal’s rating.
- 15A plug: Standard household outlet.
- 30A plug (NEMA TT-30): Three-prong RV park connector.
- 50A plug (NEMA 14-50): Four-prong plug for big rigs.
Always use the right cord type for your RV to avoid fire hazards or melted adapters.
Using Adapters (“Dogbones”) Safely
Adapters can let you plug into different outlets, but they do not magically give you more amperage. Your RV will still only pull what the pedestal can provide.
- A 50A RV on a 30A pedestal is limited to 30A max.
- A 30A RV on a 15A household outlet is limited to 15A max.
- Overdrawing power will trip breakers and possibly damage wiring.
Importance of Surge Protectors & EMS
Power quality at campgrounds isn’t always stable. A surge protector or EMS acts as a safeguard between the pedestal and your RV.
- EMS monitors for low voltage, surges, or miswired pedestals.
- Surge protectors prevent spikes from storms or faulty wiring.
- Trusted brands include Progressive Industries and Hughes Autoformers, both recommended by seasoned RVers.
Managing RV Power Loads
Managing RV power loads is about making smart choices with your appliances. Even when you’re plugged into 30A or 50A service, running too many high-demand devices at the same time can overwhelm your system.
The simplest approach is to prioritize what matters most at any given moment. For example, you might run the air conditioner on a hot afternoon, then switch it off while you use the microwave for dinner. These small adjustments prevent trips and keep your RV comfortable.
If your RV has an energy management system or a power monitor, use it to keep an eye on your draw. Seeing real-time usage helps you make quick decisions before problems start.
RV Shore Power Planning
Planning ahead ensures you won’t be caught off guard once you plug in at the campground. A little preparation helps you balance comfort with safety.
Here are practical steps to follow:
- Write down the wattage of your main appliances.
- Decide which ones are essential for daily use.
- Pair appliances in safe combinations that won’t exceed your service limit.
- Switch some appliances to propane when possible to reduce electrical demand.
- Stagger high-power use throughout the day instead of running everything at once.
Safety Tips for Using RV Shore Power
Staying safe with shore power starts with careful setup and regular checks. Electrical mistakes can damage your RV or create serious hazards, so a few simple precautions go a long way.
Keep these tips in mind:
- Plug into the pedestal first, then flip the breaker on.
- Check cords for wear, heat damage, or loose prongs.
- Only use heavy-duty RV cords, not household extensions.
- Test the pedestal with a simple outlet tester before connecting.
- Keep cords dry, protected, and away from high-traffic areas.
- Add a surge protector or EMS for peace of mind.
Troubleshooting Power Issues
Even with planning, power problems can happen at campgrounds. Breakers may trip, lights may flicker, or your EMS might cut power when conditions aren’t safe.
Here are common issues and fixes:
- Breaker trips often: Too many appliances on at once; turn one off.
- Lights flicker or dim: Low voltage from the pedestal or thin wiring.
- EMS cuts power: Unsafe conditions detected; notify the campground staff.
- Cord feels hot: Connection isn’t secure or the cord is underrated; replace it.
- No power inside: Check RV breakers, fuses, and confirm pedestal output.
Final Words
Planning RV shore power isn’t complicated once you know the basics. Whether you’re plugged into 15A, 30A, or 50A service, the key is matching your appliances to the capacity you have available. A little math and awareness can save you from blown breakers or unsafe wiring.
By listing your appliances, adding up wattages, and staggering high-demand devices, you’ll keep your RV comfortable without overloading the system. Small steps like using propane for certain functions and investing in a quality surge protector can also make a big difference.
The goal is to enjoy your trip without worrying about power issues. With a clear plan, you’ll stay safe, extend the life of your RV’s electrical system, and have the confidence to make the most of your campground stays.
Related FAQs
Can I run my RV air conditioner on 15A?
Yes, but you’ll need to avoid running other heavy appliances at the same time to prevent breaker trips.
Do I need a surge protector for shore power?
Absolutely. A surge protector or EMS guards your RV from power spikes, low voltage, and wiring problems at campgrounds.
Can I plug a 30A RV into a 50A pedestal?
Yes, with an adapter, but your RV will still only be able to draw 30 amps safely.
Why does my breaker trip at campgrounds?
It usually happens when too many appliances are running at once or when the pedestal provides unstable power.
Is it safe to use household extension cords for RV power?
No, they can overheat and cause fires. Always use RV-rated cords designed for shore power.

Jack Rivers is a long-time RVer, a husband, and a dad who’s traveled solo and now with his family. He’s learned a lot from years on the road, sometimes the hard way. From quiet mornings parked by the woods to messy evenings with the kids and a busted heater, he’s been through it all. Miles writes to share the real stuff, the small wins, and the lessons that make RV life worth it, no matter who you’re traveling with.